Finishing the Rocket Stove
A while back, I posted about my experiences constructing a Rocket Stove.
Since then I’ve added the finishing touches to the Moonunit Rocket stove.
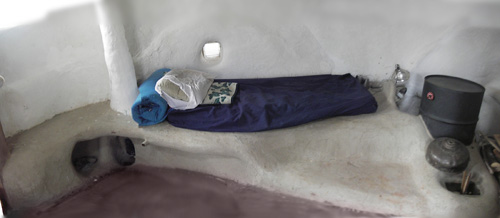
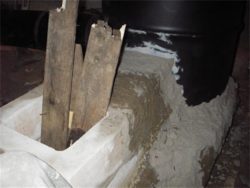
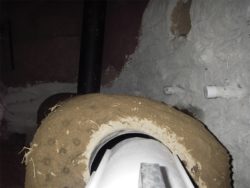
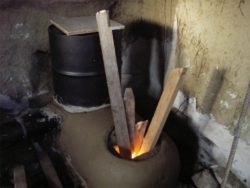
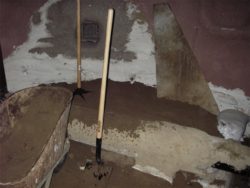
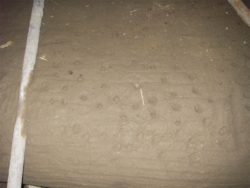
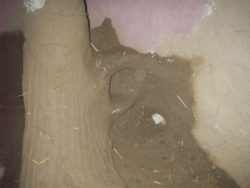
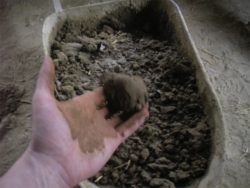
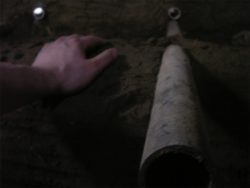
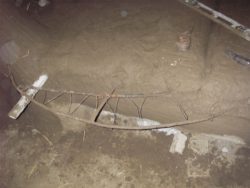
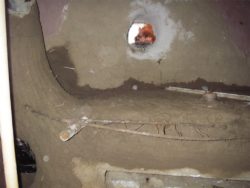
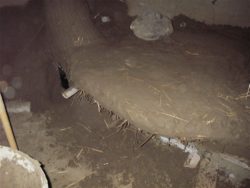
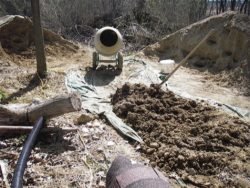
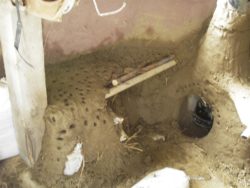
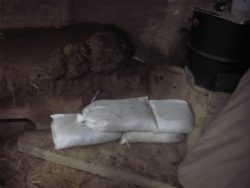
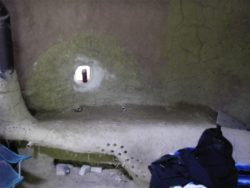
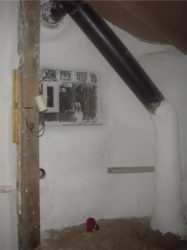
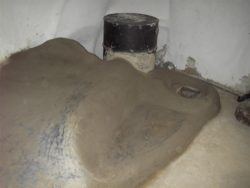
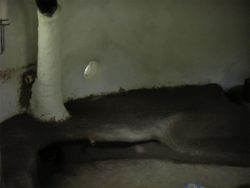
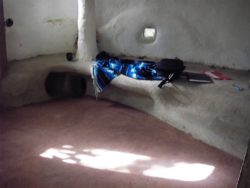
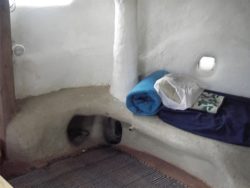
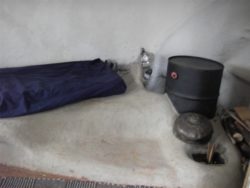
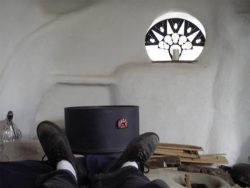
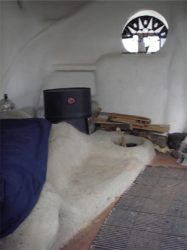
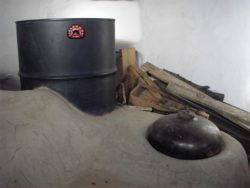
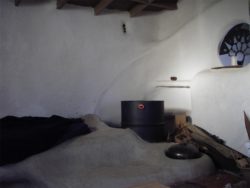
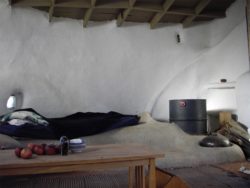
It was a project within a project. It’s guts, made of firebrick, a 55 and 30 gallon drum, vermiculite and clay and stove tubing, went together pretty quickly, but it took me a while to finish the mass part. Several tons of earthbags, urbanite, rock, sand and cob went into building up the mass. The finish floor swallowed much of the body of the stove, about 1 1/2 feet worth. What was left, above the floor, turned into a organically shaped bench and bed.
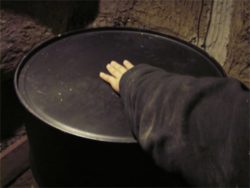
It works! There’s nothing like sitting on the warm and sometimes very hot surface. It heats the space pretty well. Though it doesn’t provide a quick heat except for around the drum. Someone needs to stoke it daily to keep the space warm.
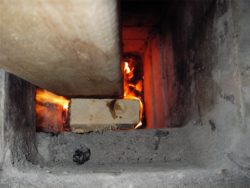
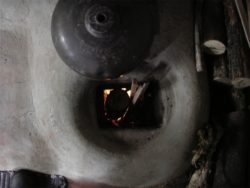
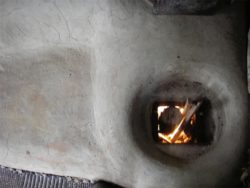
Fire. It’s mesmerizing. When the fires going – all I want to do is sit there and poke it- look into it’s flame and absorb it’s glow. In retrospect I would have made more space to sit on top of the fire – All around it. I love looking at it. The bench and bed warms up after about 4 hours of burning, and it holds the heat for much longer… maybe a day or two. It’s exit flue could have been executed more gracefully, but it works. It escapes out the west wall and shoots upward about 3.5 feet above the roof. Going out the wall meant I didn’t need to put holes in the roof, which was a big relief for me.
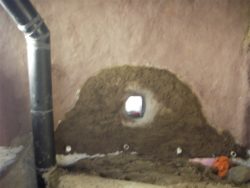
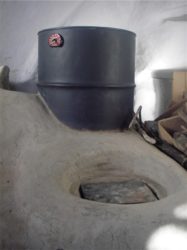
Occasionally the draft moves in reverse – when it’s warmer outside then in or when it’s really windy. That’s where to primer comes in handy. Right below the vertical shaft of the exit flue is the primer opening. One can light a small bit of newspaper to start the draft going in the right direction. Then quickly get the fire started. There was no damper in this model. I would probably add one in future models to keep the cool air from coming in. I don’t think Ianto prescribes a damper in his designs.
When it’s not in use it is a rocket mass cooler. This is particularly nice in the summer while you sit and feel the heat leave your body. I am amazed how the thermal mass collects, moderates and releases energy.
Moonunit Rocket Stove photos »










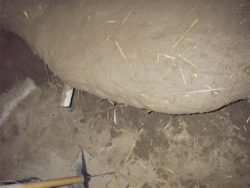
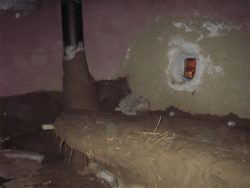
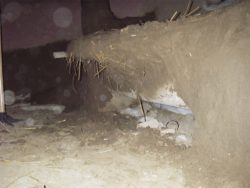
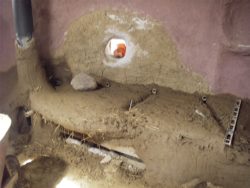














Check out rocketstoves.com
where can i get a book or plans to build this stove and the mass you build around it –to make it all cheaper tha a masonry stove–?
The weather was finally nice enough and I had some free time to stack my bricks to try out the burn chamber and riser. Being dry stacked and not on level ground I expected all sorts of problems. the Fire bricks (yea,, I went all out and bought 65) were cold so I had to fight to get some draft started. Primed the heat riser twice before it caught.
Even with gaps between most of the bricks, once it caught,,,, I was throughly amazed. Sat there for 3 hours feeding it with sticks that fell out of the trees over winter. then I laid my had on the bricks. I was very happy with this first test. Now I am cranked to get my cabin started so I can go with the full Rocket.
I was just eyeballing the Pictures in the book and laying the brick close to the way Ianto was in the B&W Picts. Still waiting to get a stainless steel barrel. Now I want to re level the ground under the stove and find a way to temporarily seal up the the spaces to see how much the burn improves.
Man this is fun.
John,
They are standard T’s for stove pipe and they seem to fit pretty tight.
Let’s hope the cob stays intact around the pipe once it rusts out. A stainless barrel would be awesome! Document your project and we’ll put it online.
Michael
Oh Sorry,
How are you capping the clean outs? They look like the standard “T” for stove pipe with caps. Are you doing anything to try to make sure they are air tight?
John
Hello again. I was reading a book the other day about the European mass heaters that our masonry stoves are based on. I was under the impression they were mostly made from clay with tile facing. If the cob mix is right (don’t ask me yet what that mix is) it should make a cast in place pipe. After the metal pipe rusts out it may stay solid all by it’s self. At least we can hope.
I bought 65 fire bricks to try a rough one in the back yard to work the bugs out. I’m still looking for a barrel to cover the heat riser and the steel pipe I want to use for the riser. A recycler near me said there is a guy getting ready to bring in a load of 55 gal stainless steel drums. I thought that would look great and wear a long time. Now I have to figure out how to wrap about 30 ft of 8 in pipe through a cob bench and daybed. Oh,, and build the cabin I want to put it in. :)
Keep up the testing. And your picts are great at showing how it should all go together
John
I was checking out the picts of the new Rocket.. Nice work. You started with 110 fire bricks. Did you use them all? I have 65 to build a trial one with so I might not have enough to finish the Riser.
Did you Cap the perlite? Cob mix without the straw? The T fitting for the ash clean out on the barrel looks bigger than the rest of the piping. Was that just from the angle of the picture? I like the idea of using the T fitting to clean out the ash inside. Did you do anything to make sure of a good seal on the cap or just trust the cap to seal it. After reading the book about these building these heater I would worry a little about the CO Escaping inside the house where I am going to be building this.
Since it is only a test one, I will probably use a little clay/mud from the garden to seal up the air leaks.
Makes me eager to get building!
John
Loved the picts! What kind of path did you use in the bench/bed?
I am just getting into the research to build one of these rocket mass heaters. I am trying to build an earth sheltered cabin with this as the main heat source.
I was also wondering how the clay heat riser was holding up? I was looking at using a 1/4″ steal pipe with the vermiculite/cob insulation.
Did you take it out that high to increase draft or because of regulations? I am hoping to bring it out at about knee high through the wall with a very short outside stack. The temp should be low enough because I am wrapping it three times through a 4 1/2′ wide day bed (at least that is the plan so far).
Excellent documentation of a pretty nice looking stove. Thanks! I hope you keep these photos up for a long time, they’re very instructive and inspirational. I plan to refer back to them many times as I prepare to build my own rocket.
Nice looking stove, I have a couple questions. How is the stove tile heat riser holding up, seems like a good idea if it doesn’t break down. Also any thoughts on how to omit the 55 gal barrell. something like a heat riser wrapped in cob with the flue making a 180 degree bend down the side and in to the mass bench. thanks for your thoughts
daniel
very impressive indeed, particularly how cold it gets in the stoves homeland. bitingly so right now, in fact.
i’m glad i finally got access to a fast enough web connection to check out the moonunit photos
i hope all’s well for you in taos,
love matt
sweet! I have always wanted to talk to someone who built one and used it, so it’s great to read your experience. It sounds just wonderful. I am a cat internally, so that warm surface sound soooo inviting!