 Tool: Bondo Spreader
techniques
Tool: Bondo Spreader
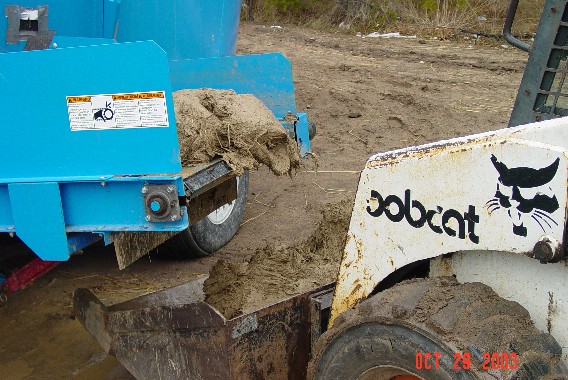
 BobCob
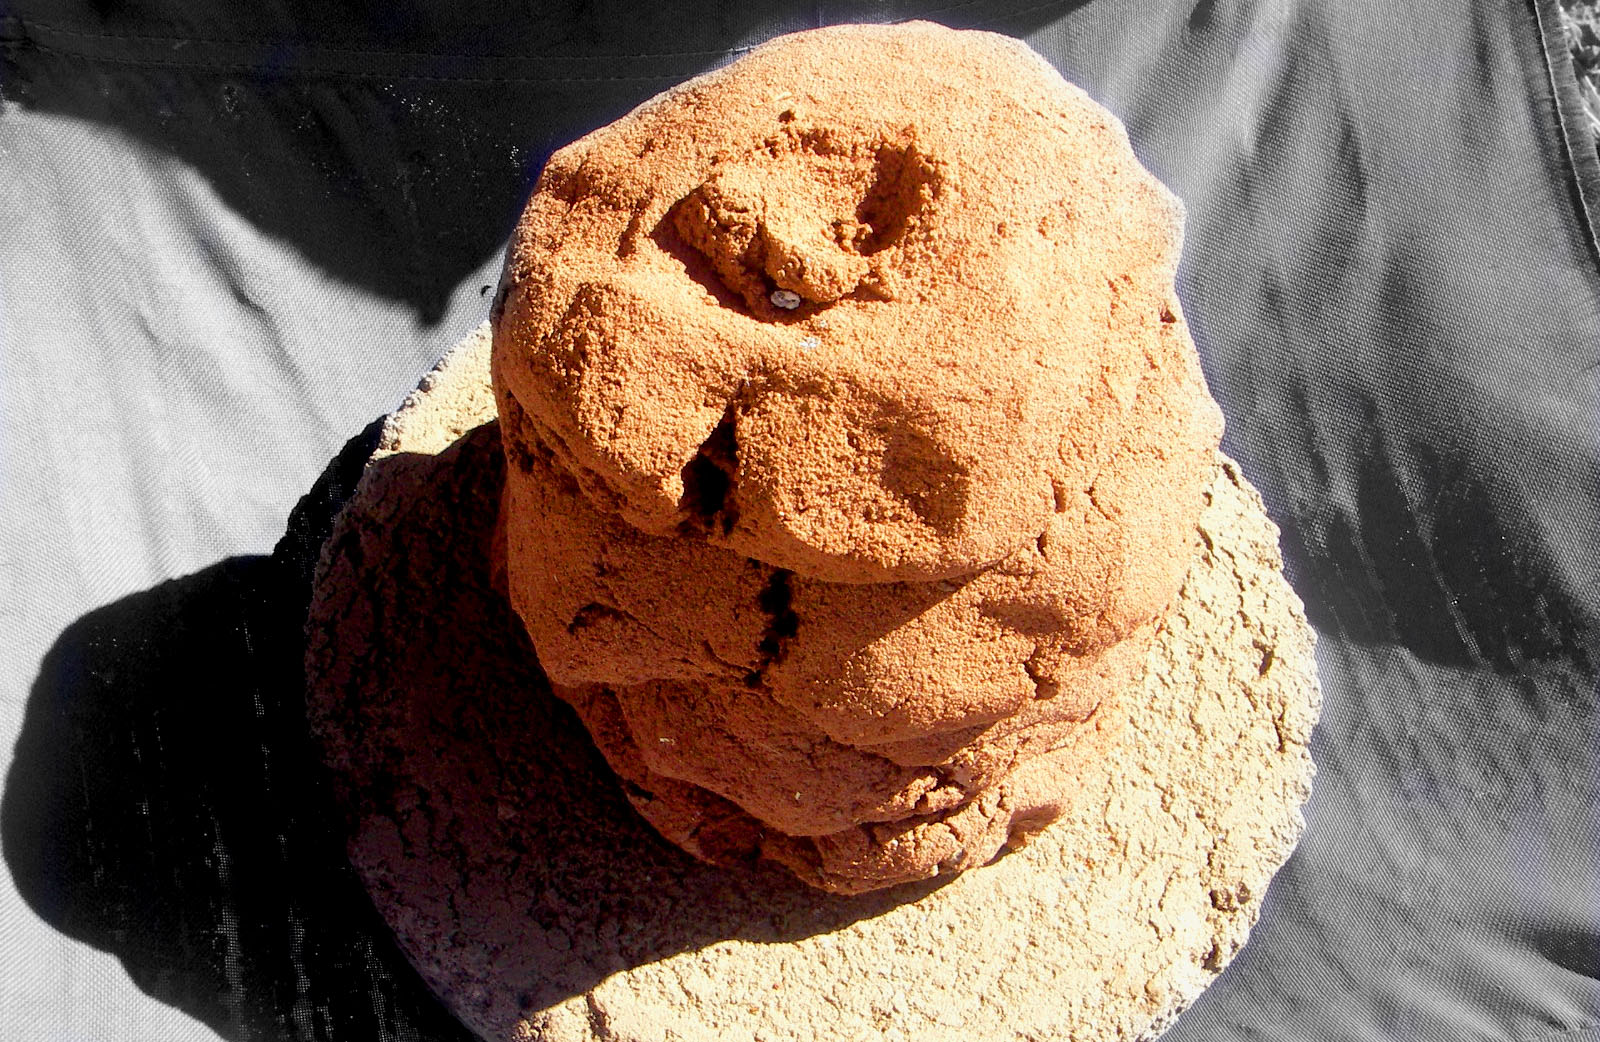 Mud Cookies
 Making Cob with a Auger Mixer?
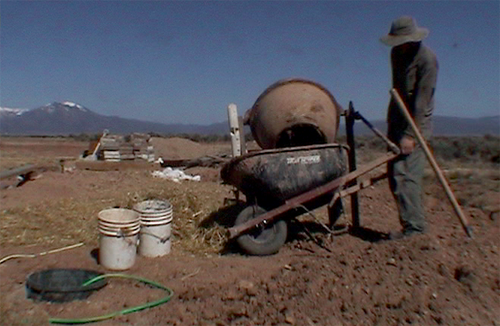 Electric Mixer Cob
 Mesa Dirt
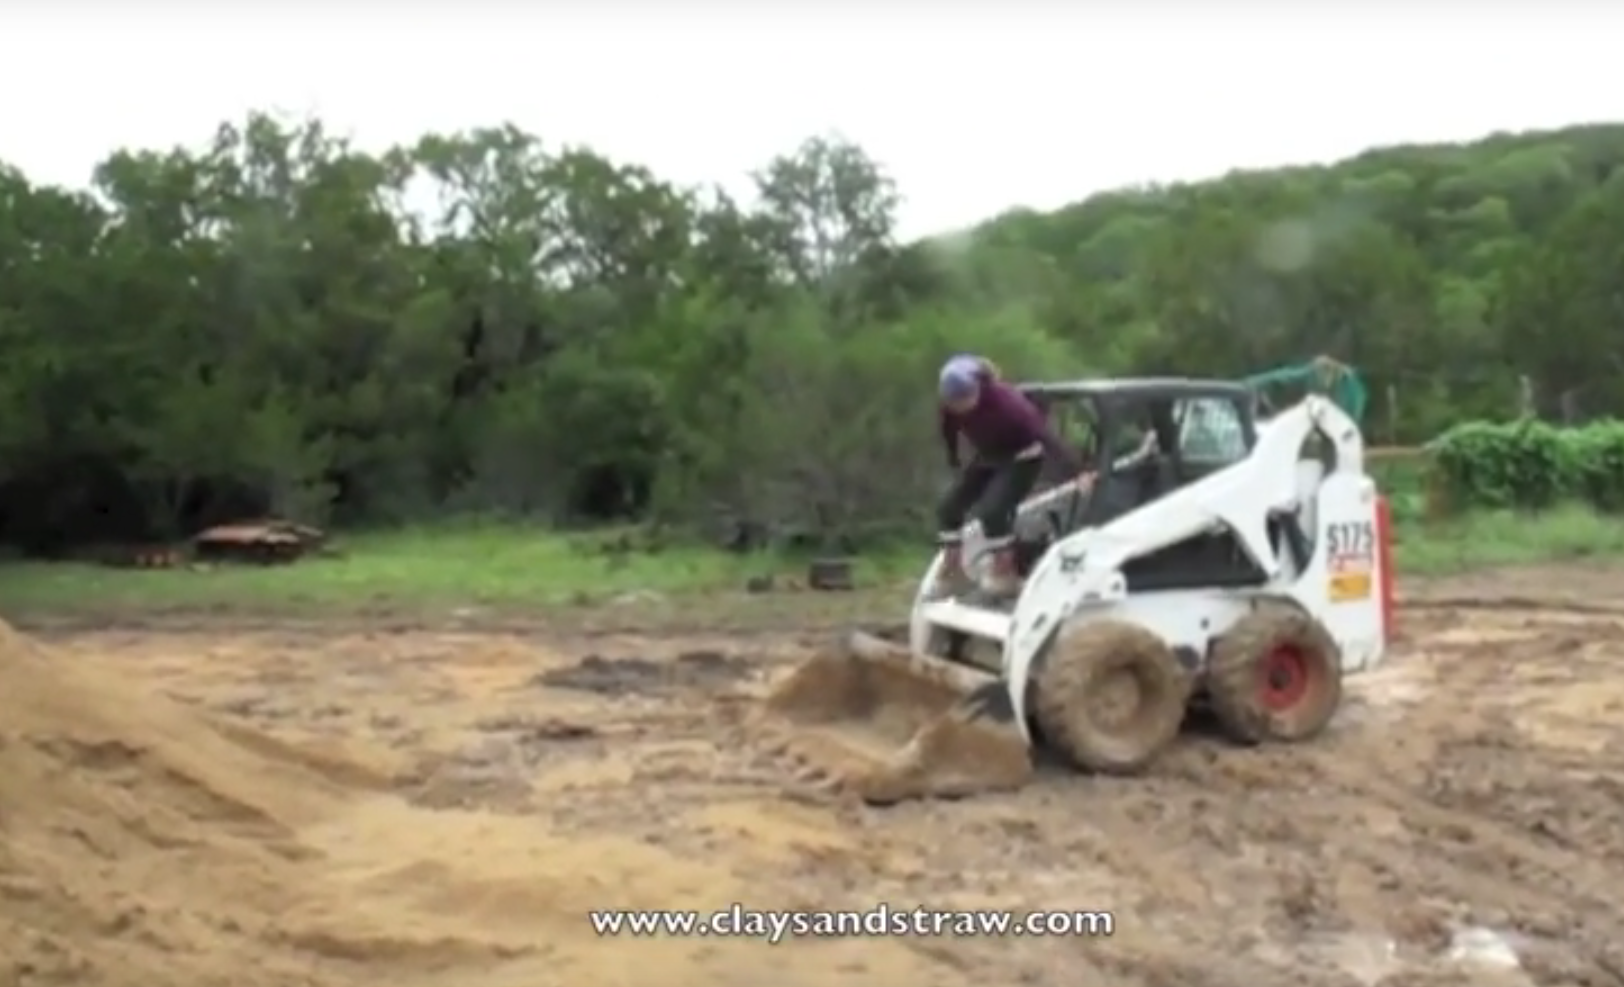
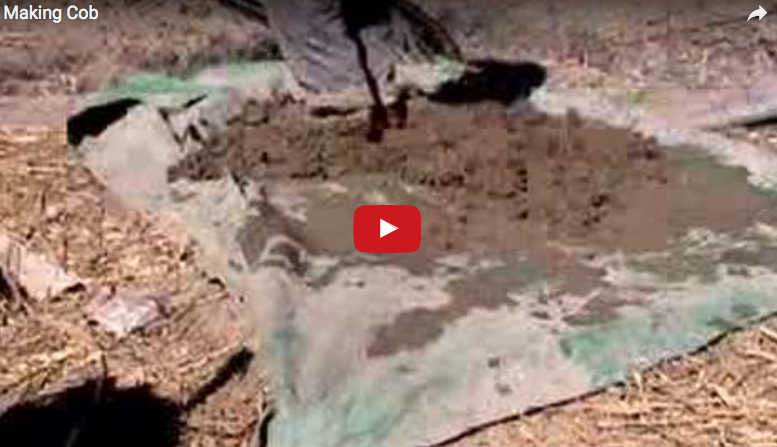 Making Cob Video
 Electric Mixer Cob