Solunit Rocket
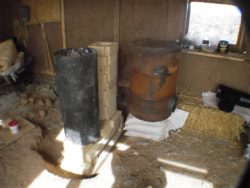
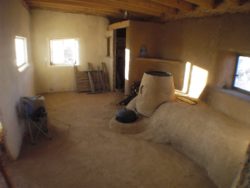
This year I created another rocket stove mass heater. This time with the benefit of experience. I have to admit, when I constructed the Moonunit Rocket, I was flying by the seat of my pants. Guess it was a big experiment, but then again, so was this one!
This rocket isn’t one of the 50 dollar stoves. I decided to get the highest quality materials I could afford. Some of the materials are recycled, like the 55 gallon barrel, the electric hot water heater core, and the chimney top, but the rest was bought new. There isn’t a exact total, but I’d say it’s around $700.00 US. That’s still a good deal for a highly efficient wood stove. I wanted to acquire a few 10′ lengths of 1/4″ steel pipe for the horizontal flue, but I couldn’t find any, and couldn’t afford it new. $20 a foot? I thought if I used a 1/4″ steel pipe, I’d never have to worry, as an 84 year old man, that the pipe embedded in the cob and rock was rusting away. Who knows what I’ll be doing when I’m 84, probably rusting away myself.
Construction
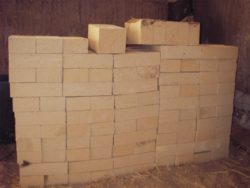
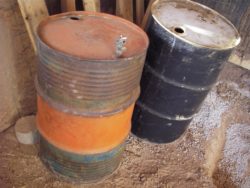
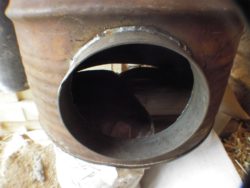
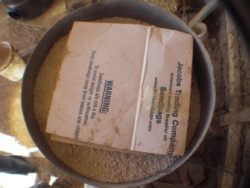
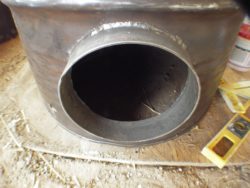
Preparation and gathering materials is a task within it’s self! Creating the list, finding the barrel off Craigslist -Thanks Alford!, visiting the dump for a old electric water heater, shopping for duct work, pulling in truck loads of white pumice back every time I went to town. One heavy load of 110 firebricks was a days labor. A little cement for the pumice-crete slab, a couple cans of refractory cement, hiring a local welder to install a 8″ male fitting on the barrel. It happened a step at a time. Once it was all gathered, it was time to play.
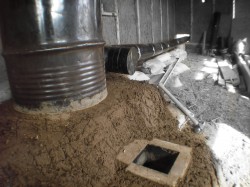
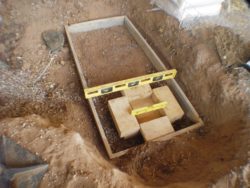
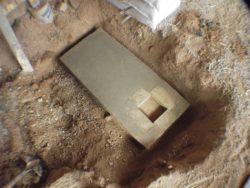
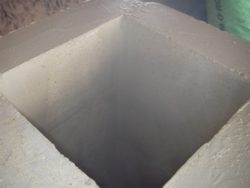
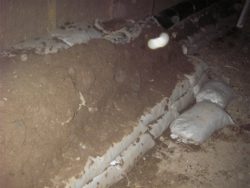
Nothing like building a stove in the cold. You know what your doing it for! I started digging the hole in the dirt floor to submerge the combustion unit. The plan called for a tall heat riser and I thought it would be a monster if I didn’t submerge it. Easy access to the top of the barrel for cooking is important.
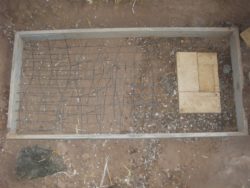
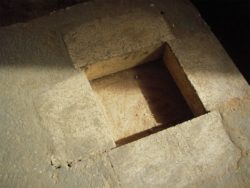
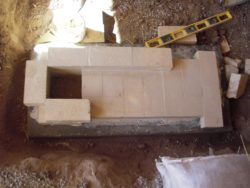
The form for the pumice-crete slab was 2′ x 4′ x 4″. I tried a couple times to get the slab right. Adding pumice to the footing gave just a little more insulation. Pumice-crete has a R-value of 2+ per inch. The base of the feed tube was embedded with in the slab. It was a bit tricky leveling it out. If I were to do it again, I’d place a 4″ layer of white pumice and clay slip down and tamp the hell out of it – then pour the slab. Regardless, it’s a good base to build the brick work upon.
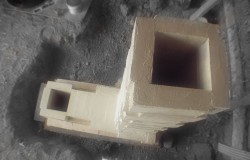
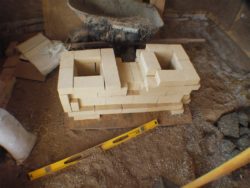
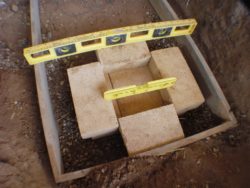
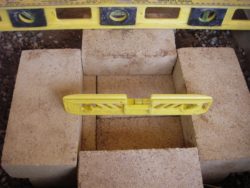
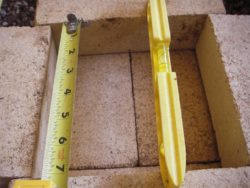
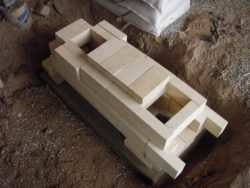
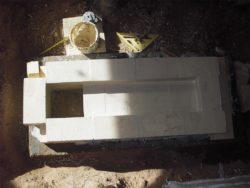
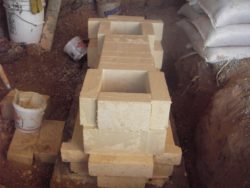
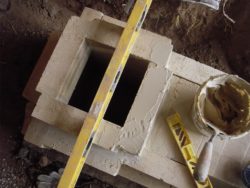
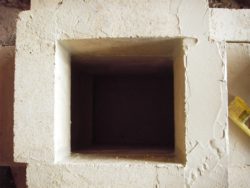
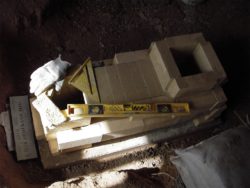
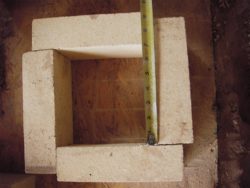
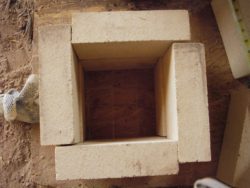
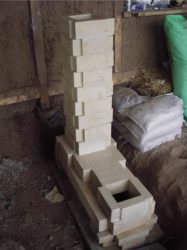
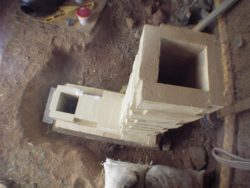
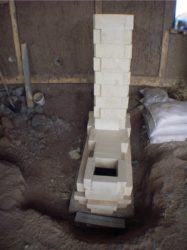
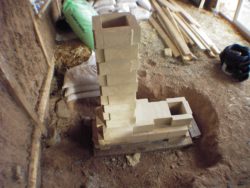
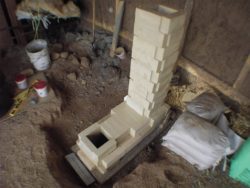
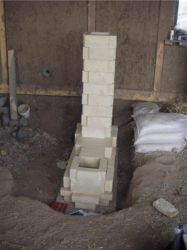
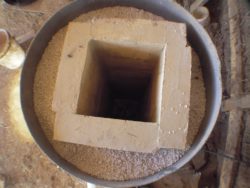
I played with a number of arrangements. Dry stacking bricks and playing around. Ianto’s book Rocket Mass Heaters was at hand, since I’m no master mason. I used more bricks than his design; doubling up some areas of extreme heat. I figure you have one chance to build the brick work, and I might as well add more strength and insulation to the areas with the most thermal shock. I notice the mortar falling away on the Moonunit Rocket. This time refractory cement was used instead of a clay and silica sand mortar. The refractory cement was nice to work with, it seemed to gel nicely with the brick. It set quickly too. The brick work was left to sit overnight. Tomorrow I’d create the heat riser with a tower of brick – a considerable weight to bare.
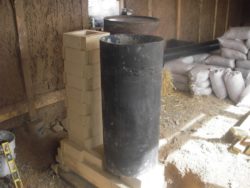
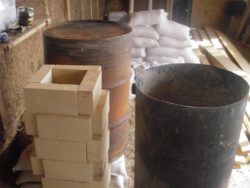
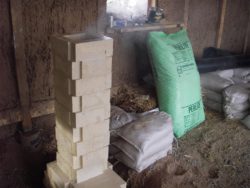
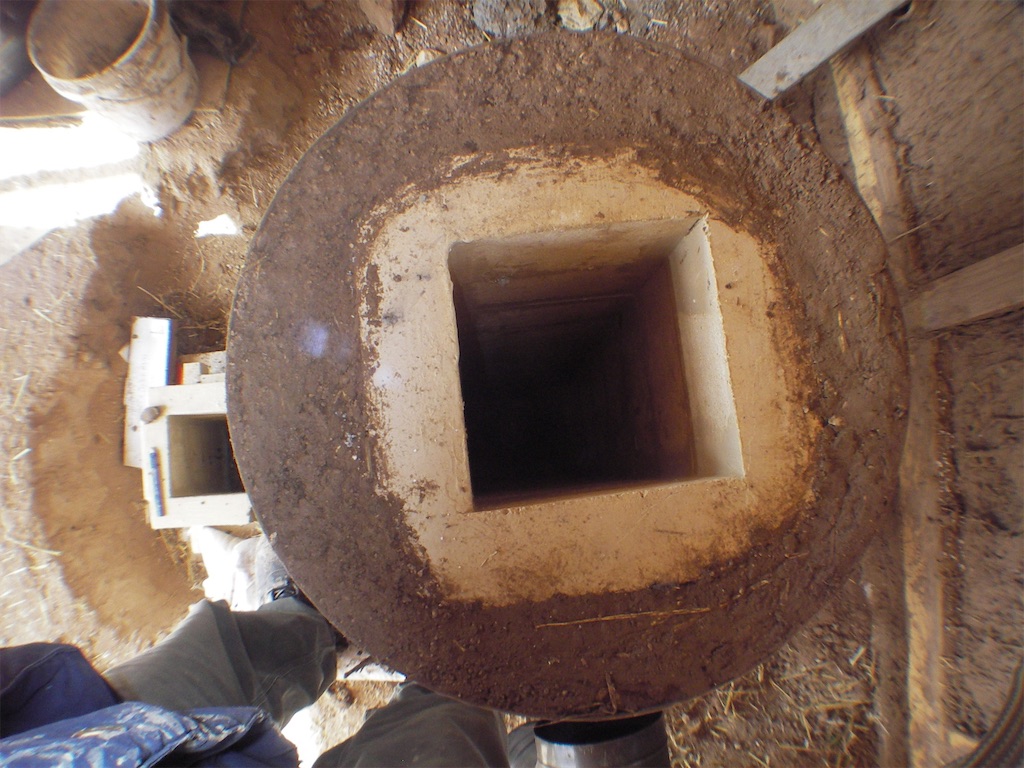
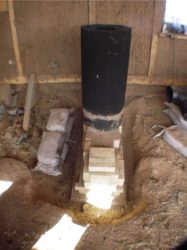
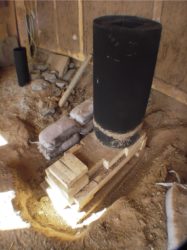
Originally I wanted to use a thick piece of steel for the heat riser. I also considered using cast-able cement. In the end, there was plenty of fire brick and opted to go that route. The heat riser is the magic in the rocket. It creates the draft. It pulls / pushes the hot gases up, up, up. This time, I’d make it taller. More draft, more power, more output, more heat. It seemed tall at 42 inches. Standing on a unfinished floor, I thought it was too tall, but by the time the insulation and earthen floor was installed the height was just about right.
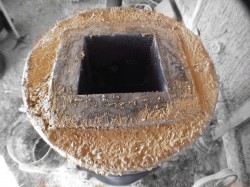
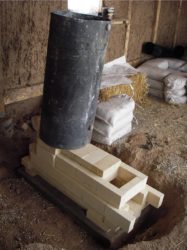
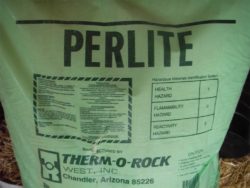
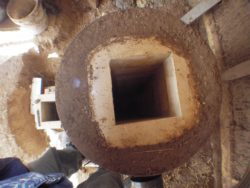
With the brick work in place the old electric hot water heater core was installed around the heat riser. This was filled with perlite. Perlite, an insulating mineral, is very fine. Dust masks please. There was no clay slip added to the mix. This creates a layer of insulation around the internal chimney to promote a hot clean burn.
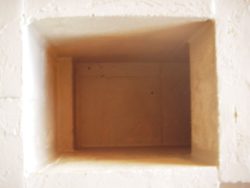
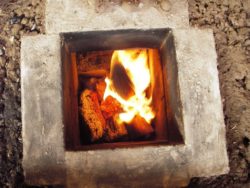
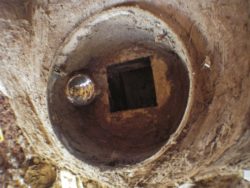
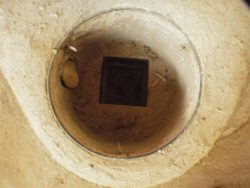
The “J” shaped combustion unit with all it’s parts is complete. It includes the feed tube, where you stick the wood; the burn tunnel, where most of the burning happens and the insulated heat riser or internal chimney. When this was all in place, I couldn’t but help to fire it up!
Testing…
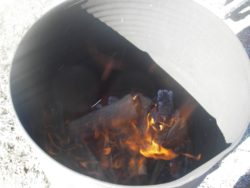
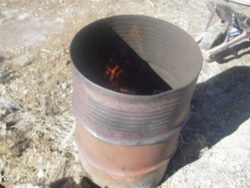
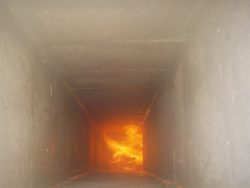
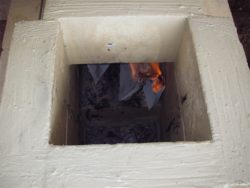
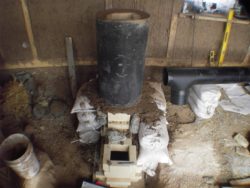
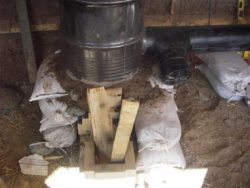
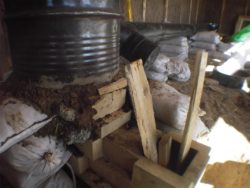
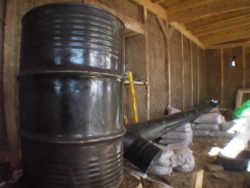
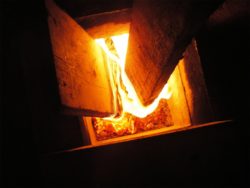
I hacked it together, propping earthbags to hold the barrel up and connected the flue pipe. The first test burn was a little depressing. Smoky. Obstinate. We did finally get it going, but it was a teary eyed process. At that point the horizontal flue was going straight out the building with a chimney top to shield it from the strong winds. It finally burned, but not well. It kept belching smoke back up the feed tube. I discovered that the top of the barrel was too close to the top of the heat riser, and a vertical chimney stack out side was necessary. Adjustments to be made…
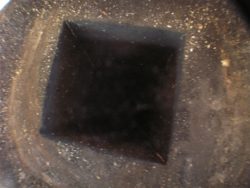
We took it all apart and observed. Funny to see the blacken heat riser with burnt bits of debris. The top of the hot water heater core was slightly above the brick heat riser. This caused resistance and disturbed the flow. So I sawed lines in it with the saws-all and bent them down to create a level surface. The saws-all vibrated the perlite level down, so I kept vibrating it until it seemed to stop sinking and added more perlite. Then sand-clay was added to the very top, keeping the perlite in place. It was all coated with a little refractory cement for good measure.
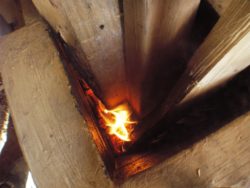
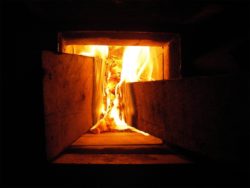
Test number two was better. It worked like it’s supposed to. There was a healthy draft with that fiery-rocket-sound. Good. That put me to ease… after all this work, and feelings of inadequacies from the last burn. Things were looking up. We celebrated with beer and a meal cooked on the stove. Boiling water for pasta, warming chicken – a feast was had.
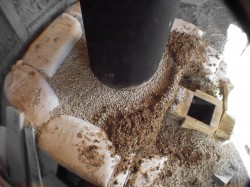
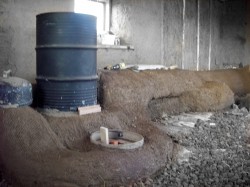
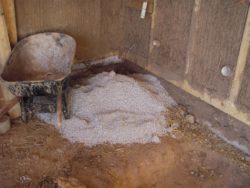
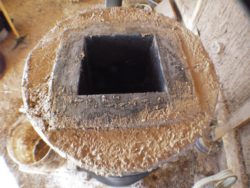
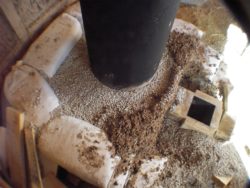
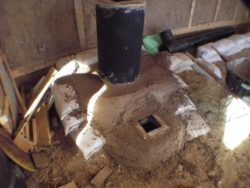
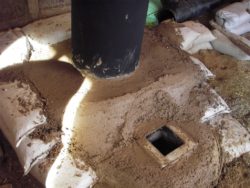
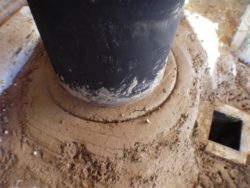
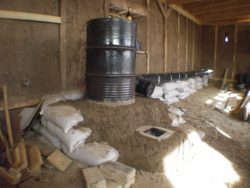
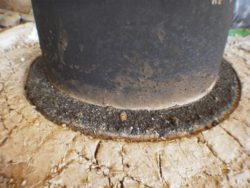
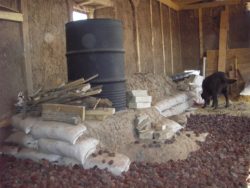
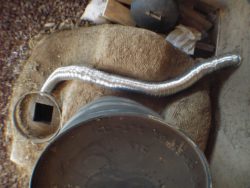
Now that it was running, I infilled white pumice all around the combustion unit. Giving it at least 4″ more insulation. Then I created a earthbag ‘container’ for more pumice and leveled it off where the bottom of the barrel would sit. There was some tweaking to get the barrel at the right height. Careful to place the top of the barrel about an 1 1/2 about the top of the heat riser. Cob was sculpted around the form and left to dry with a ring embedded for the open barrel bottom to key into.
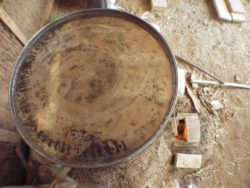
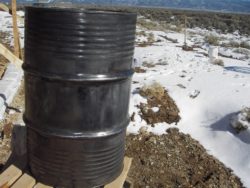
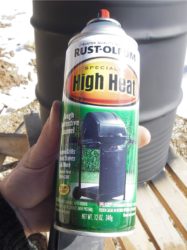
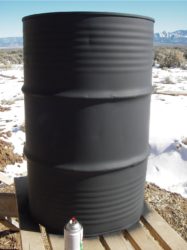
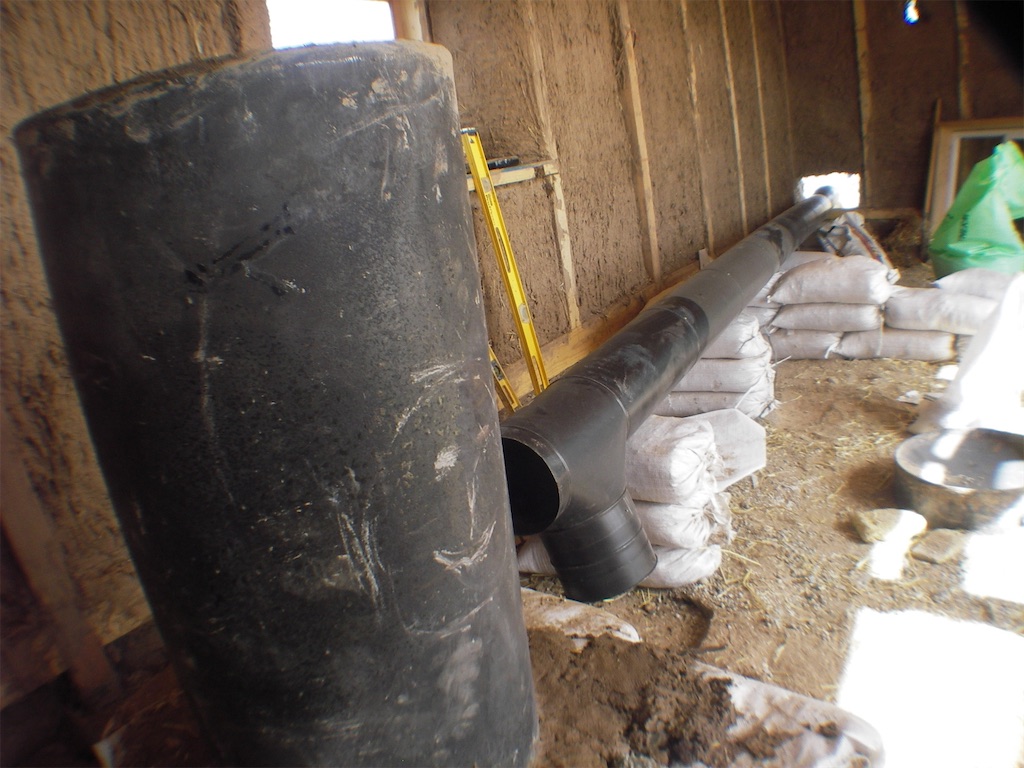
Meanwhile, I cleaned up the barrel with a wire brush and gave it a coat of flat black ‘high heat’ stove paint. When asked – why black paint? I didn’t know… for protection, I guess. Dan Barber, of Eco Stoves of Taos, left his shiny metal and occasionally gives it the olive oil treatment. I like the shiny metal look.
Duct work
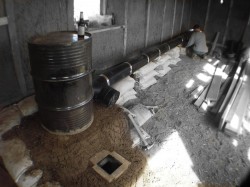
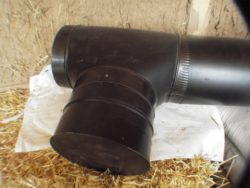
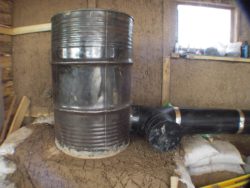
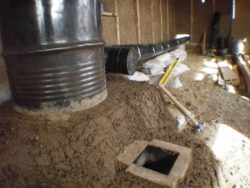
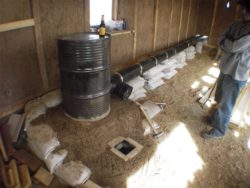
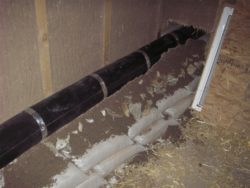
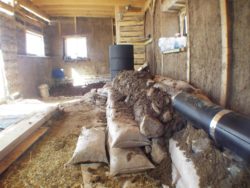
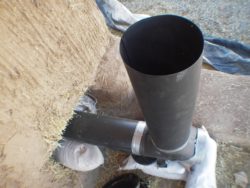
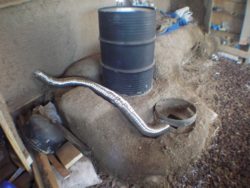
The horizontal flue is 27′ of 8″ black stove pipe. It connects to the barrel mechanically by way of a male fitting. Immediately off the barrel is a T. The T is tilted down to collect ash as it leaves the barrel and allows for inspection and clean out. From there the pipe runs straight to the outside. There is another T on the outside of the building. This gives me a chance to stick a (long) chimney brush through the entire run of the stove intestines. The outside T also can be used as a primer, in case the system is cold and the draft is weak. Donkey over at the Rocket Stove Forums mentioned that it’s a long way to go outside in the cold to prime it… and I think he’s right. But luckily I haven’t had to prime it at all – yet. I’ve also thought about keeping a propane torch handy to warm up the system, if it should need a jump start.
27′ is long, but I think I could have made it longer. As it stands, it goes through the living room and the bedroom. Creating a double duct through the bench in the living room would have absorbed more heat, and heated quicker. Though, that would have added to the complexity of what is a pretty simple system. When placing the first clean out T I decided to ‘hide’ it in the bench. This isn’t very ergonomic in terms of cleaning it out, but that was mostly a aesthetic decision. It does mean however that I will be using a shop-vac to clean out the ash pit of the T.
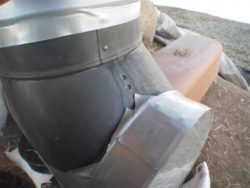
When the hot gases leave the building through the vertical stack, the temperatures are warm, but not hot. I still have work to do on the chimney. Right now it’s black stove pipe and some galvanized duct. It’s uninsulated from the cold outside air. Condensation and creosote will collect. I’m hoping to either connect a triple wall pipe or insulated it with a column of pumice filled cob.
While this section was being assembled we taped off the T with duct tape, because we didn’t have a cap. The duct tape didn’t burn. This illustrates the amount of heat that is left inside the building, instead of flowing straight outside. The temperatures at the end of the chimney are very low compared to the usual wood stove. I’ve always been able to keep my hand on the metal, even while there’s a raging fire.
The Mass
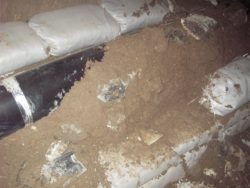
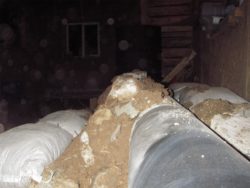
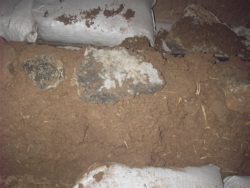
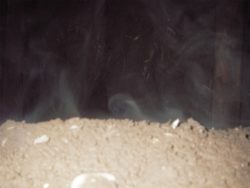
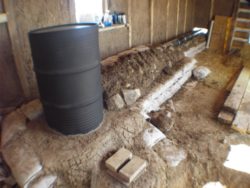
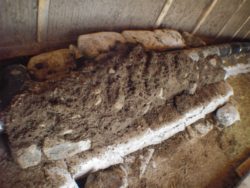
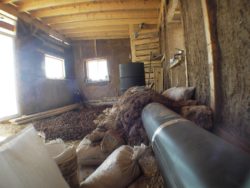
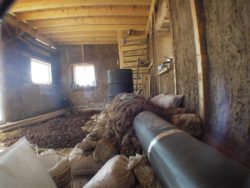
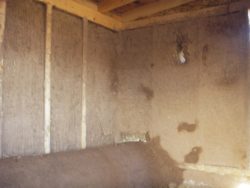
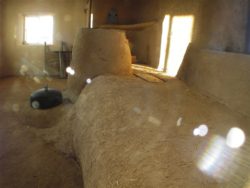
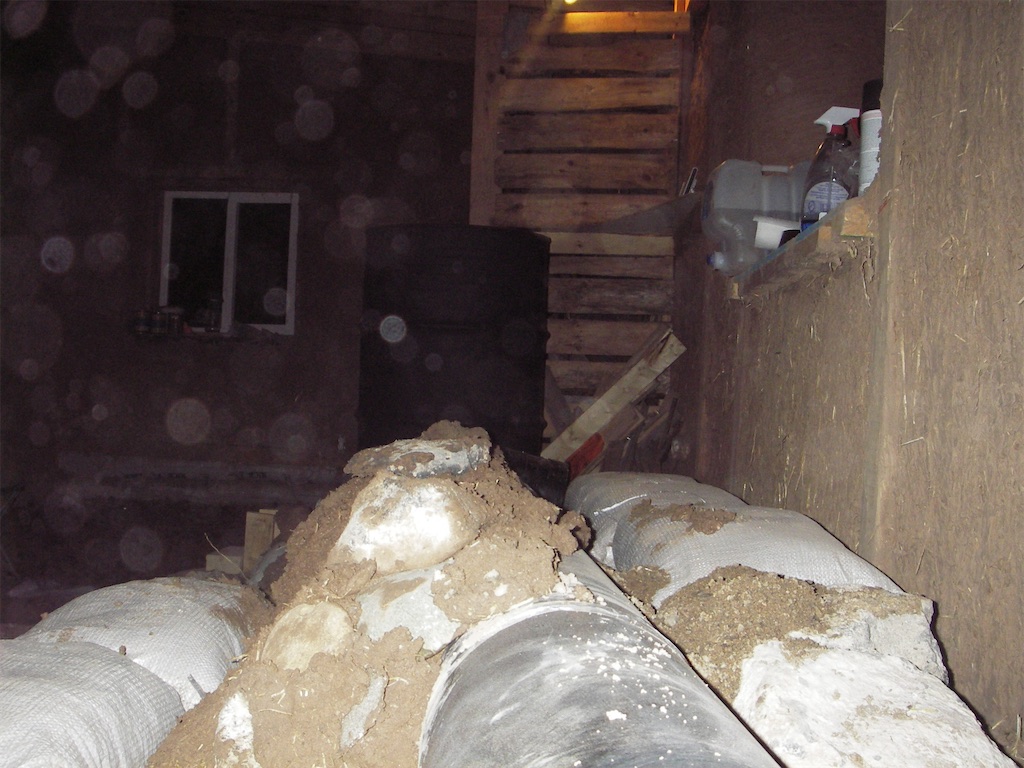
How many tons of earth are in this thing? I’d ask myself as I rolled another wheel barrel of cob into the building. Don’t know… and I wish I would have kept track. Earthbags were convenient for quickly getting the pipe into place. I imagine the polypropylene bags have melted where in close proximity to the pipe, but who cares. There’s a thick layer of sand/clay/rock all around the pipe. This is the place to stash broken up concrete, rock, and sand rich cob. Rock is a better thermal battery than cob. I must of brought 10-15 ‘dinosaur turds’ of cob in. That’s about 6 wheel barrels each turd. At about 300 ( wet ) pounds per wheel barrel. Not to mention the earthbags. Needless to say, there’s a lot of mass. Layer upon layer the mass was built. Slowly working my way up to cob / straw. It is fun to watch the steam burn off as the wet cob emits it’s moisture. On top there is at least 6″ of mass above the stove. There’s less mass in the bed room, close to the exit of the building. This gives off heat quicker, though won’t store as much. There is a 3″ layer of air between the mass and the straw bale wall behind it. Hopefully this will alleviate moisture build up between the mass and wall. It might create more insulation too.
Fresh Air
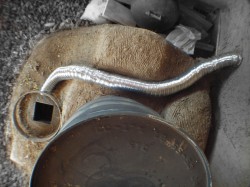
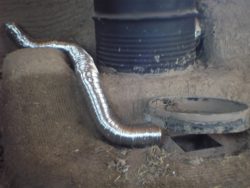
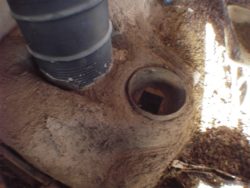
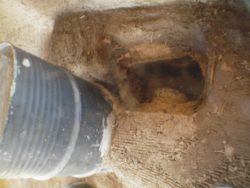
While sculpting around the combustion unit I added a fresh air intake. I like to sit by the feed tube and stare into it’s glory, but when I do there’s always a cold draft rolling over me. The air hungry stove is pulling the ( coldest ) air from the house. A 4″ dryer duct was added to provide some fresh outside air. The flexible tubing runs close to the barrel on it’s way in, as to warm it up a bit before entering above the feed tube. There is a noticeable draft coming in when the fire is burning. If the intake is left open perpetually this could cool the system down, so I make sure to close it when the fire is out. Screen was added to the air openings outside after being reminded it needed to be done by a snake in the rocket!
Update: It has been brought to my attention, by Erica, that this could act as a mini chimney, with the upward escape route for hot gases. Perhaps a better plan would be to have it lower in the system as to not tempt the gases upward. In the event that the gas exits instead of enters the intake, make sure the materials are fire proof.
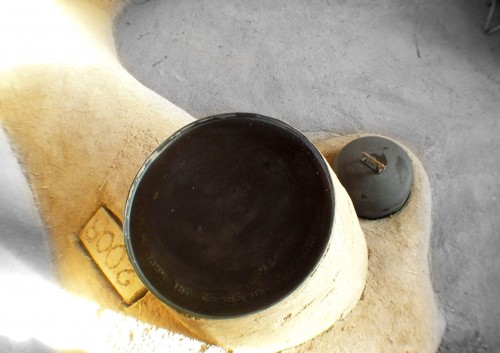
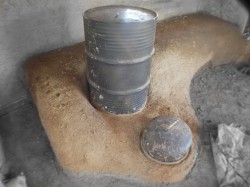
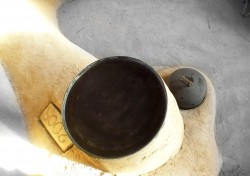
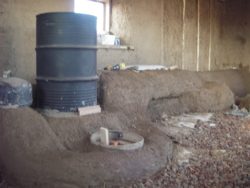
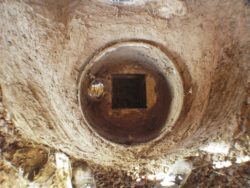
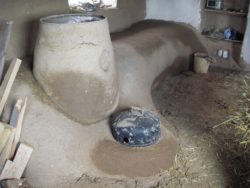
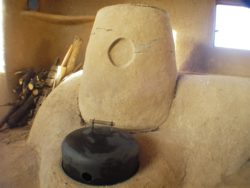
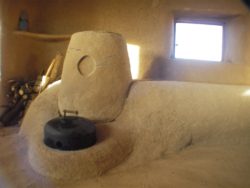
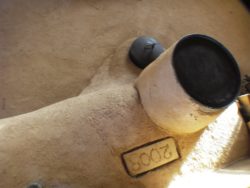
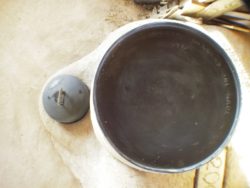
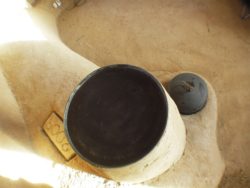
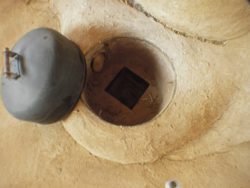
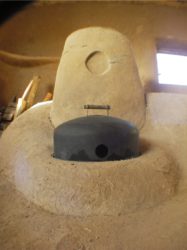
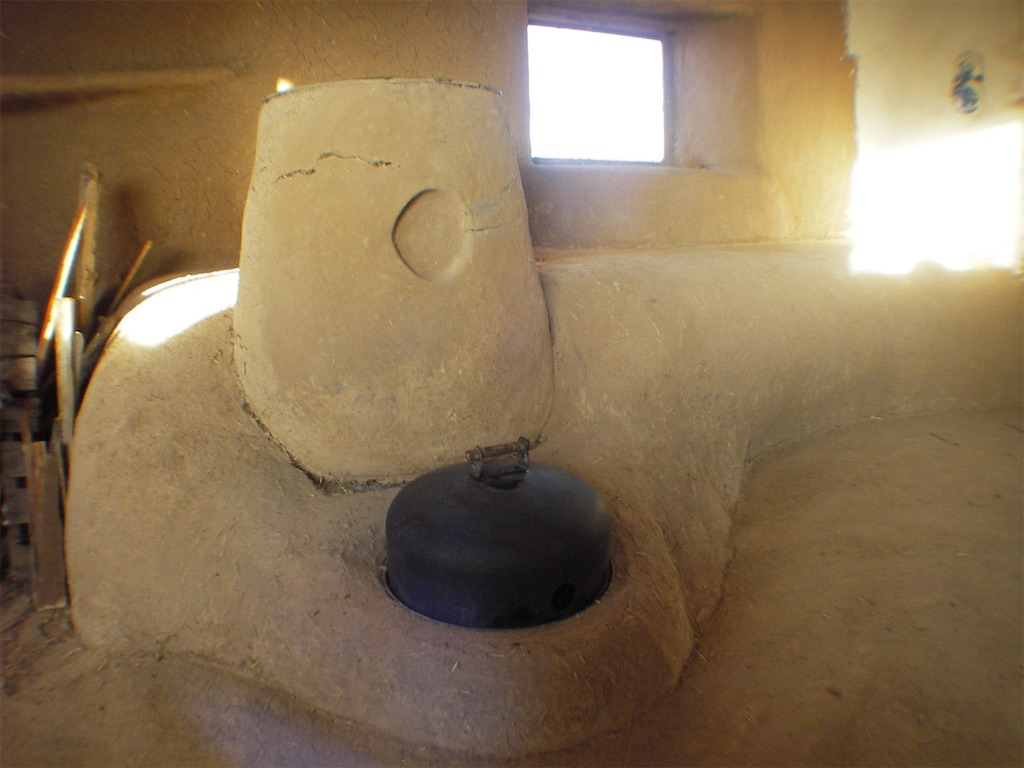
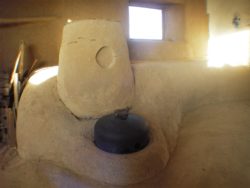
The feed chamber has been finished with parts of a old barbecue ‘smoker’. It has a dome shaped top, and it works well for closing off the fire while sticks are burning. When the top is placed on the feed chamber I imagine more air is extracted via the fresh air intake. You can feel the air running past the edges of the top, so it’s still sucking air from inside the building too. I leave it open just a crack to provide enough air for the fire. When it’s closed off completely it’s sounds like the fire isn’t burning optimally. Occasionally there is a puff of smoke that rolls up off the wood. This usually happens when you have a medium fire and tall pieces of wood sticking up. If I use the top it contains the smoke. The top also assures me that sparks, will be contained.
Covered in cob
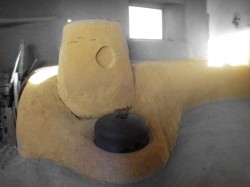
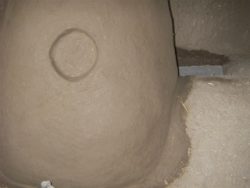
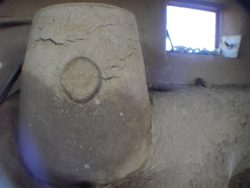
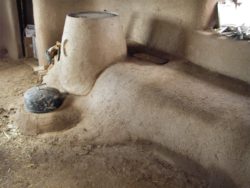
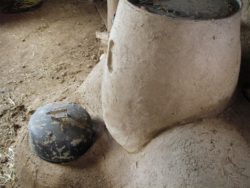
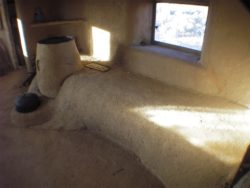
The barrel has been covered with cob. This was a ergonomic and aesthetic choice. Honestly, I don’t like the look of the barrel. And it gets damn hot! Burnt myself on it a few times already. I imagined pillows and blankets catching fire, so I decided to cover it with a thin layer. This means there will be less quick heat, but makes up for it when you lean against the cob covered barrel. The thermal shock and moisture release will crack the surface as time goes on. If left ‘earthen’ cracks can be sealed and finishes renewed with a touch of mud. I’m surprised at the amount of moisture the clay holds and releases when heated. Clay, you crazy hydro-phelic stuff.
The Solunit isn’t finished yet. Although the walls are up, there are many points at which cold outside air move through the building. The thermal mass of the building is holding the cool lately. The rocket has received just a few long burn sessions. After about 4 hours of steady feeding, the mass was warm. I was surprised to return the next evening to find it very cozy to sit on! This with temperatures getting into the 20’s ºF over night. I look forward to sealing things up, and holding the charge.
The cob sculpting on the rocket stove is complete. I’ll wait to finish the stove, until the messy work in the house is done. Mucho plastering to do yet.
To be continued…
View Solunit Rocket Photo Gallery »
- Solunit Rocket Mass heater
- Gathering materials
- Gathering materials
- Brick combustion unit
- Test burn
- The duct work
- Cob, cob and more cob.
- Fresh air intake
- Rocket Stove shaping up
- Covered in cob
- White pumice insulation
- Test burn
- Tuned up heat riser
